
Creating a reed diffuser is a simple and elegant way to add a continuous fragrance to your home without the use of heat or electricity. Reed diffusers are not only functional but can also serve as a decorative element in any room. This guide will walk you through the steps to make your own reed diffuser, from choosing the right materials to assembling your fragrance bottle, and will introduce a manufacturer of perfume bottle china, Fonli.
Materials Needed
To get started, you will need the following items if you contact the custom perfume bottle manufacturer:
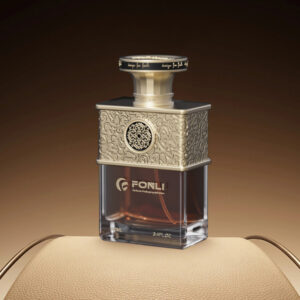
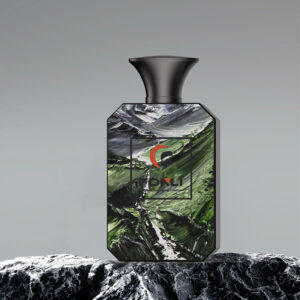
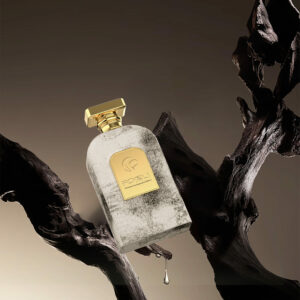
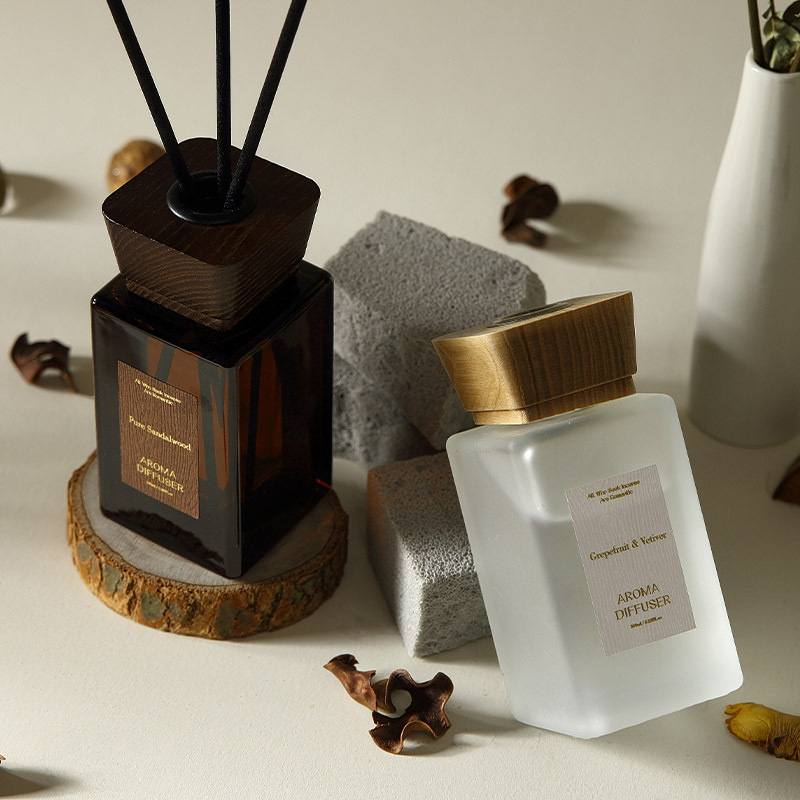
– Glass or Ceramic Container: Choose a container with a narrow opening to slow evaporation of the fragrance oil. Fonli can offer the main style for you.
– Reed Sticks: These can be purchased online or at craft stores. Rattan reeds are most commonly used as they have channels that help wick the fragrance oil up into the air.
– Carrier Oil: This will form the base of your diffuser liquid. Common options include fractionated coconut oil, sweet almond oil, or safflower oil.
– Essential Oils: Select any combination of essential oils depending on the scent you prefer.
– Alcohol: Isopropyl alcohol or vodka helps to thin the oil and promote wicking.
– Funnel and Measuring Cup: For mixing and pouring without spills.
Step-by-Step Instructions
Step 1: Prepare Your Bottle
Ensure that your chosen container is clean and dry. (If you choose a reliable custom perfume bottle manufacturer at the beginning, you should not worry about that) The container should be both functional and stylish, complementing the decor of the room where it will be displayed.
Step 2: Mix the Base
- Measure the Carrier Oil: Using your measuring cup, pour the carrier oil into the container until it is approximately half full.
- Add Alcohol: Add a few tablespoons of alcohol. The alcohol will help the reeds absorb the oil more efficiently and disperse the fragrance into the air.
- Add Essential Oils: Depending on the size of your container, add about 20-30 drops of essential oil. You can adjust this amount based on how strong you want the scent to be.
Step 3: Combine and Stir
Use a small stick or spoon to stir the mixture gently. Make sure the alcohol, carrier oil, and essential oils are well combined.
Step 4: Insert the Reeds
Place several reed sticks into the bottle, allowing them to soak up the oil mixture. For a more robust scent, use more reeds. Flip the reeds every few days to refresh the scent.
Step 5: Display and Enjoy
Place your reed diffuser in your chosen location, such as a bathroom, kitchen, or living room. Avoid placing it in direct sunlight or near a heat source, as this can cause the oils to evaporate more quickly.
Tips for Best Results
– Rotate Reeds Regularly: Flip the reeds every 2 to 3 days to keep the scent fresh and effective.
– Refill as Needed: Top up the diffuser with more oil as the level drops. Over time, you may also need to replace the reeds if they become completely saturated.
– Customize Your Scent: Don’t hesitate to experiment with different essential oil blends until you find the combination that works best for you. Seasonal scents can add a festive touch during the holidays, while calming scents like lavender or chamomile are perfect for bedrooms.
Conclusion
Making a reed diffuser is a straightforward and enjoyable DIY project that can help enhance the ambiance of your home with your favorite scents. By following these simple steps and using your creativity in choosing components, you can create a personalized home fragrance solution that is both effective and visually appealing. Enjoy the process and the delightful aromas that will soon fill your living space!